
What Are Proactive Conversations? What Is Their Purpose?
Proactive conversations are pop-up notifications aimed at directing users to a chatbot. By reaching customers at the right place and the right time, they can guide customers towards interacting with the bot. This enables you to proactively convey information about your campaigns, services, and products, thereby assisting in increasing your lead and sales conversion rates.
In Jetlink chatbots, you can attract customers' attention with various formats of proactive conversation types and invite them to engage.
By adding filters, you can deliver the right content at the right moment on the desired page through selecting the proactive conversation type. This can be done by opening a window, sending buttons or images, or delivering a brief message. This way, you can convey messages tailored to different usage scenarios.
If a user decides to leave the page without any interaction while still on the page, you can detect this and invite them to a conversation with the chatbot, preventing your website traffic from going to waste. Moreover, you can utilize proactive messages in many other different contexts.
in Which Situations Can Proactive Messages Be Used?

When a user enters the website, a welcome message can be added along with a message to direct them to the chatbot.
Recommendations related to the link or service that the users are engaged with can also be communicated through proactive messages.
You can demonstrate that users can receive assistance from the chatbot and add proactive messages to pages where you anticipate they might need help.

Through proactive messages, you can conduct satisfaction tracking of your services and gather feedback.

You can provide users with a more comprehensive experience through reminder notifications.

By leveraging the visibility of proactive messages, you can also direct users to other channels.
You can provide information about your service by asking users questions and directing them to a survey flow

You can also convey seasonal content you want to highlight through proactive messages.
And furthermore, you can provide a more personalized experience by incorporating user information into proactive messages.
How can you create proactive conversations?

After logging into the dashboard, click on the 'Proactive Conversations' button from the menu on the left side. Once you click the button, the page for creating proactive conversations will open.

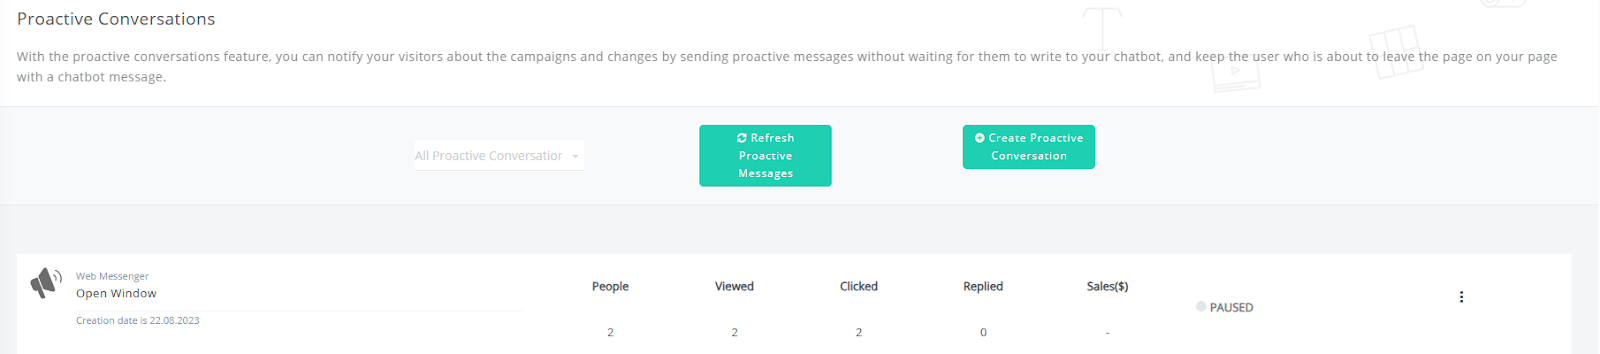
On the relevant page, you can view previously created proactive messages if any exist, or you can create a new proactive message using the buttons located at the top.
Click on the Create Proactive Conversation button
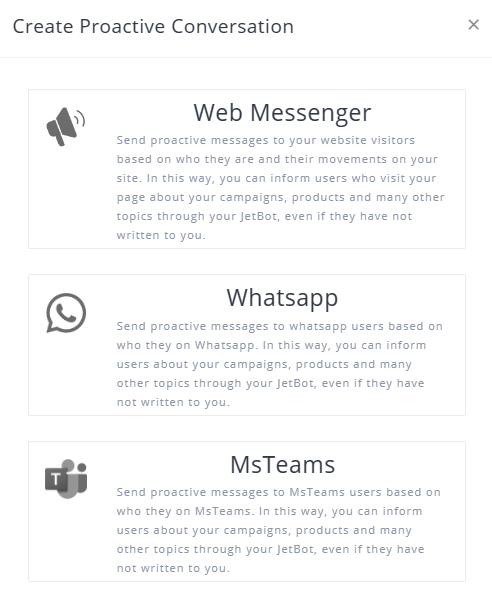
From the displayed window, click on the relevant field for the platform you want to create a proactive message for. To create a proactive message on your website, click on the Web Messenger field
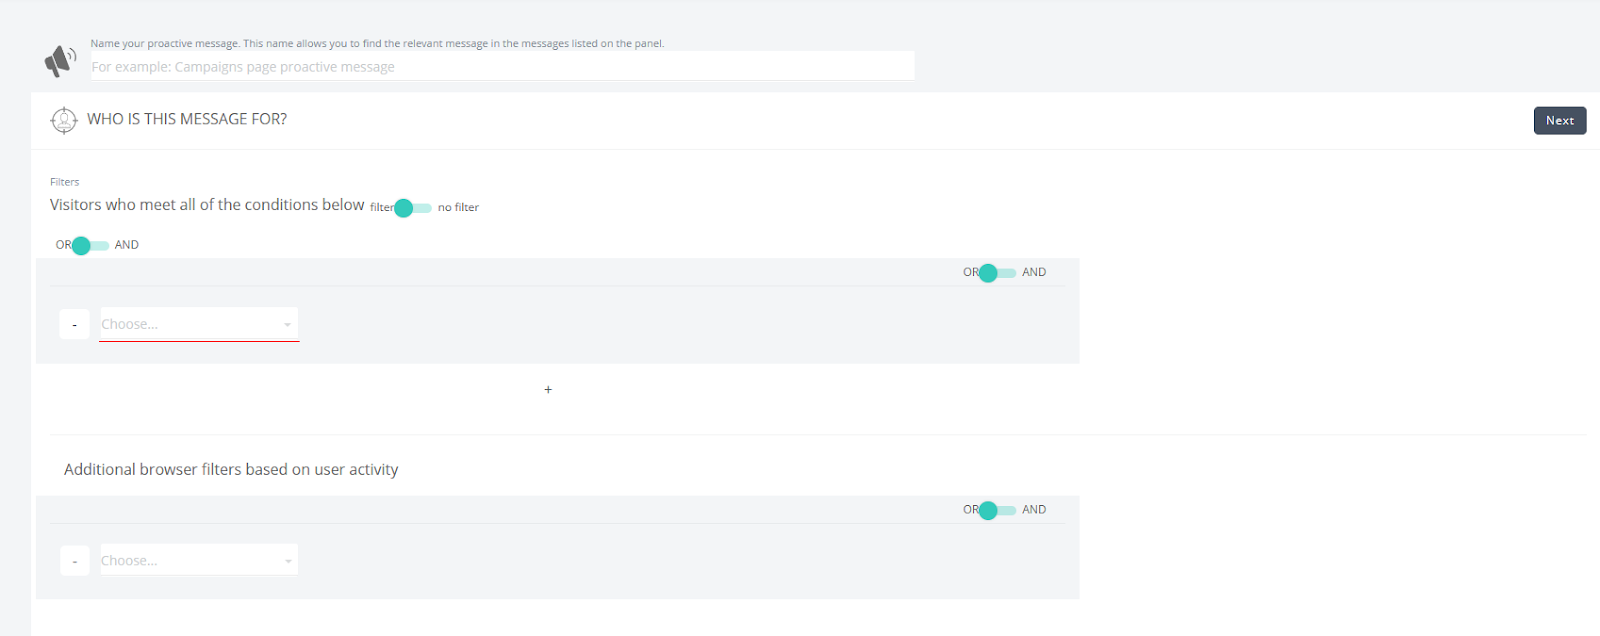
In the upcoming page, start by giving your proactive message a name in the field located at the top. This name will help you find the relevant message among the listed messages in the dashboard
Next, proceed to set the relevant filters for your proactive message from below. These filters are used to determine the circumstances, timing, and recipients for which the proactive message will be displayed.
You can create proactive messages for distinct situations that are independent from each other using the OR parameter. With the AND parameter, you can create proactive messages for situations that are connected to each other and fulfill those conditions

For instance, here you can create a proactive message only for users who have visited https://www.jetlink.io/ address more than 5 times. Someone who has visited this address 4 times won't see this proactive message.
You can perform filter addition/removal operations using the + and - buttons displayed on the screen.

You can also utilize the additional filters located at the bottom of the page. These are scroll rate and exit from page filters. For instance, in this scenario, the proactive message created above will be displayed to users who have scrolled through the relevant page more than 40%. Since the AND conjunction is used here, it's necessary for the user to have performed this scroll action."
Please note that while I can provide translations and explanations, the actual effectiveness of the instructions might vary depending on the context and the platform you are using. Always refer to the platform's official documentation for the most accurate instructions.
Let's look at another example:
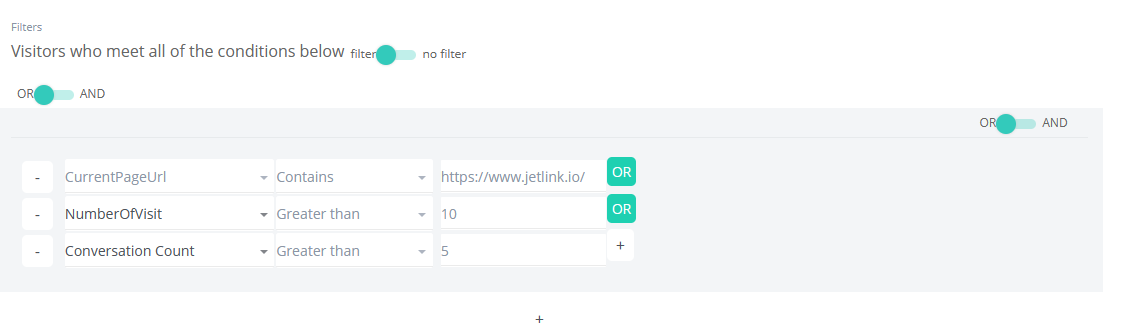
Let's examine a proactive message created using the OR parameter in this case.
If a user has visited the relevant page 9 times and has had 6 conversations with the chatbot, the proactive message will be shown to the user.
Even if a user has visited the relevant page 12 times but hasn't had any conversations with the chatbot, the proactive message will still be displayed.
It's sufficient for either one of these two independent conditions to be met.
After applying the relevant filters, click on the 'Next' button located in the top right corner.
Identifying Who Your Proactive Message Is For
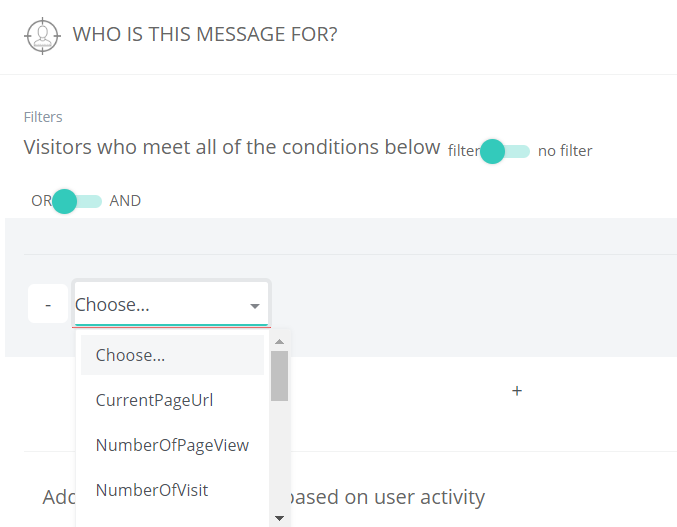
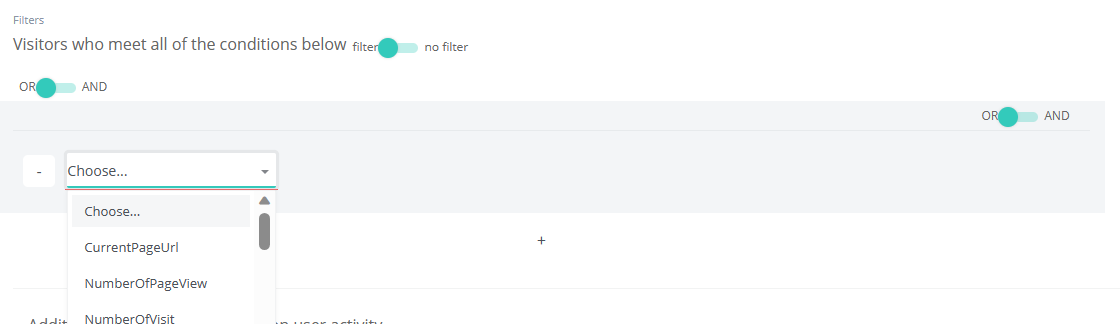
From the Select section;
Current Page URL
Number of Page View
Number of Visit
Number of View
Number of Click
Browser Language
Browser
Browser Version
Device Type
First Seen
Last Seen
Conversation Count
Custom
we can choose whichever filter we want. If we look at the features of these filters,
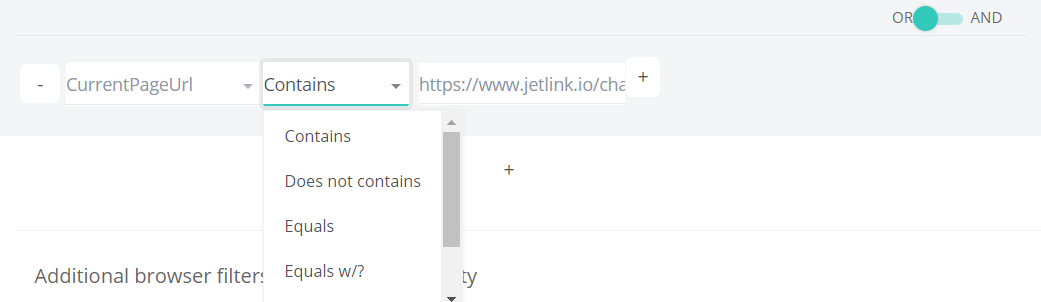
Current Page URL: If this content is selected, in the second filter section that appears, we can choose one of the options contains, does not contains, equals or not equals. Their features are as follows:
Contains: A proactive message appears on all pages containing the entered URL. For example, if the https://www.jetlink.io page is entered, this can be proactive on the https://www.jetlink.io/chatbot-conversational-ai page.
Not contains: A proactive message appears on all pages that do not contain the entered URL.
Equals: A proactive message appears only on the page entered.

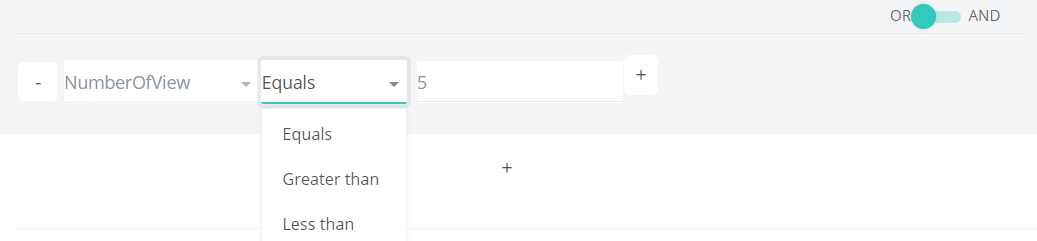
Number of Page View: A filter related to how many visits the page requested to see the proactive message. If the user wants to see this message after visiting the page 3 times, equals should be selected and the number 3 should be entered in the other box. When greater than are selected, the user will see this proactive message on their 4th or 5th login to this page. If less than is selected, this message will appear on the first login and on the second login.
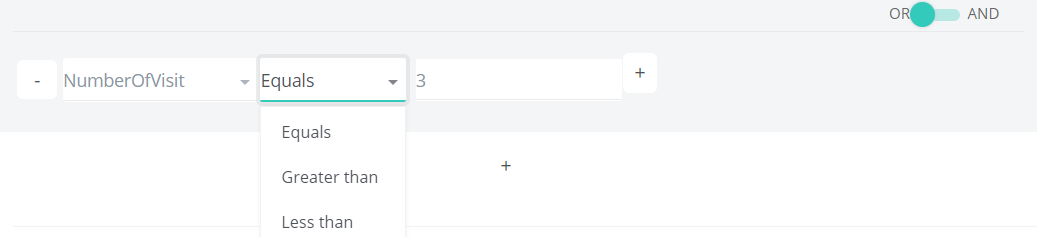
Number of Visit: The only difference from the number of page view filter is how many pages are visited without any page customization.
Number of View: The number of times you see the proactive.

Number of Click: The number of times you click on the proactive.

Browser Language: A filter for customizing the language. For example, if a proactive message specific to Japan is desired, equals should be selected and Japan should be selected, if it is a proactive message that is not wanted to appear in Japan, Japan should be selected after selecting not equals.
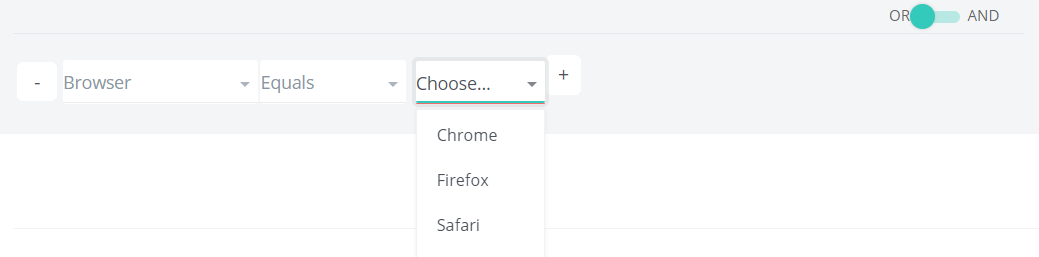
Browser: This filter can be used if you want to create a proactive message specific to the browser.
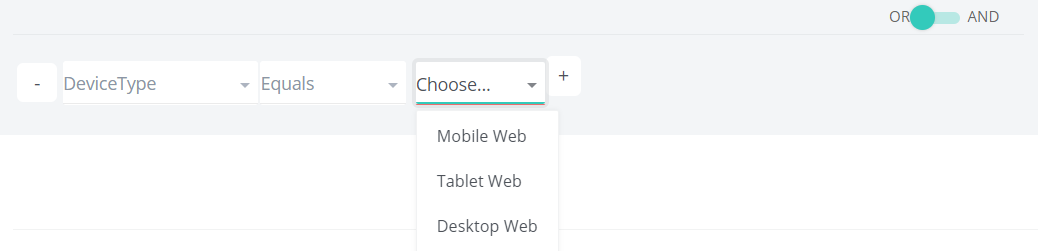
Device Type: Whichever option is desired for proactive messages to appear on mobile web, tablet web or desktop web, that option should be selected and equal should be selected. For example, if this proactive message is mobile and tablet specific, the not equal section should be selected and desktop should be selected.

First Seen: A filter where you can select the date when the proactive message is first seen. For example, you prepared a proactive message for a campaign, but you haven't announced the campaign yet. With this option, you can choose the first seen date of the campaign. If you select on or later, this proactive message will not be shown to users before the campaign's date.
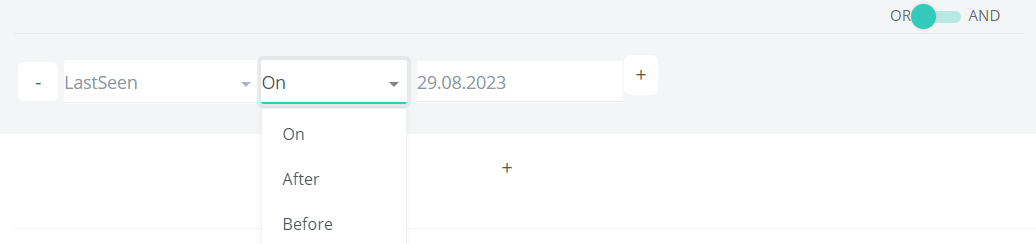
Last Seen: Filter for when the proactive message was last requested to be seen.

Conversation Count: Filter for the number of conversations the user had with the chatbot.
Additional browser filters based on user activity

Exit Screen: Proactive message setting when the user moves their cursor to exit the screen after browsing the page.

Scroll Ratio: A filter where you can set the proactive message to appear on the user's page according to the scroll rate.
4. Proactive Conversation content should be determined.
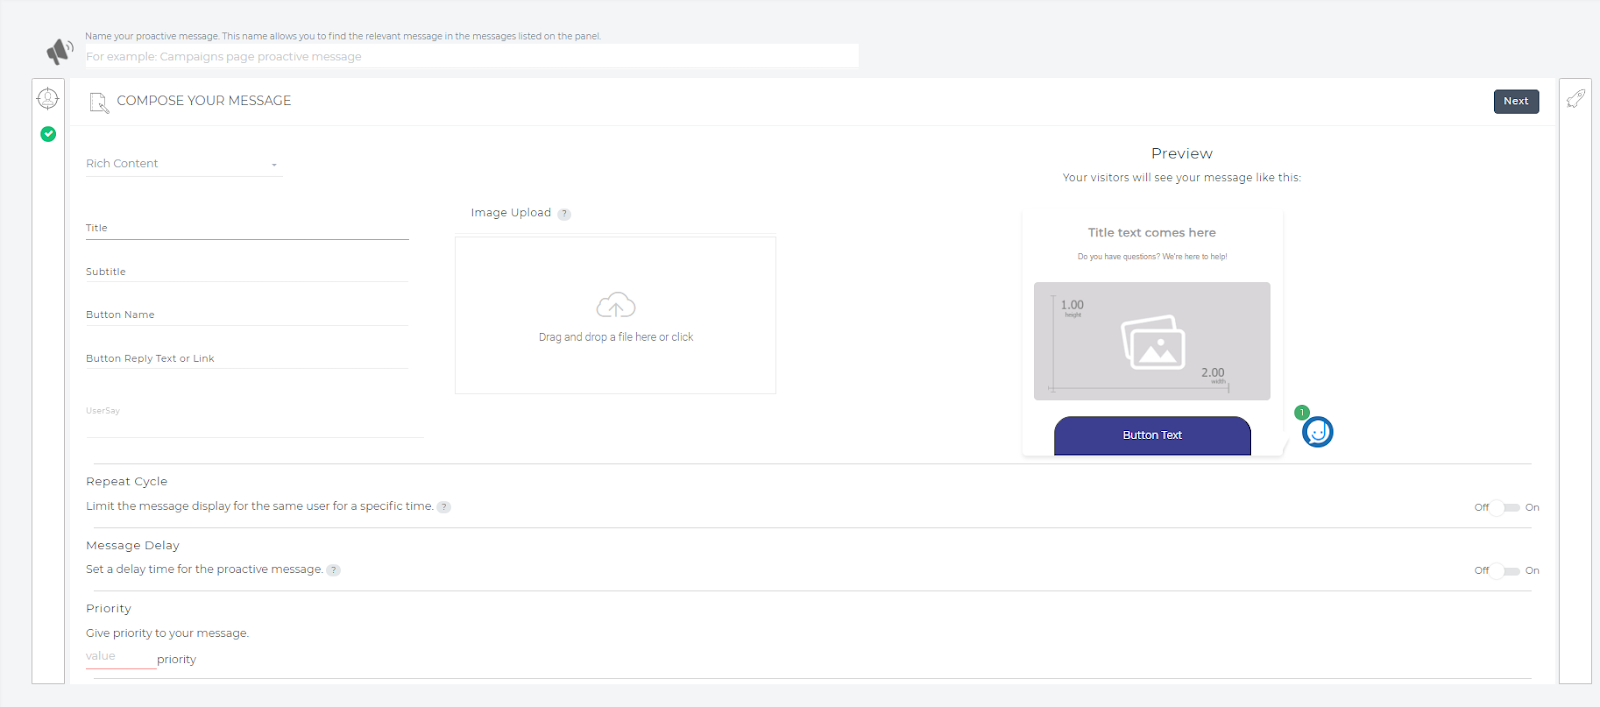
You can create 3 different types of content in our chatbots. These; Rich Content, Text Content and Open Window. You can start creating your proactive by selecting the type of content you want from the "Select Content" section under the "Compose Your Message" text. Before you start talking about rich content, there are two important parts you need to know; Images must be PNG and size 400x200.

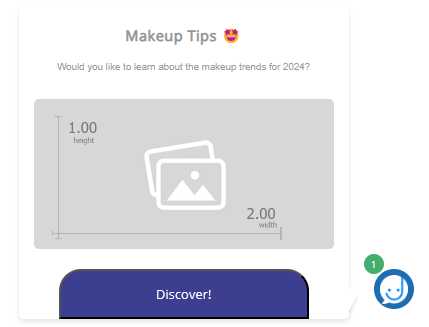
4.a Rich Content
Rich Content; Text ✅ , Image ✅, Button ✅ are available. If you want to create rich content; You can define a conversation by letting your users click on the button you have forwarded, and at the same time, you can direct it to an intention.
You must first fill in the blanks in the image below.
Let's set an example together. 👇
For the title section, a title not exceeding 20 characters should be determined.
For the Subtitle section, a sub-text not exceeding 100 characters should be specified,
Button Name section must be filled,
The message to be used for the Button Message or Link section or the link to be forwarded should be added,
For the Usersay section, a user expression determined for the intended intent and trained must be added.

When you scroll down the page a little bit, the following section will appear.
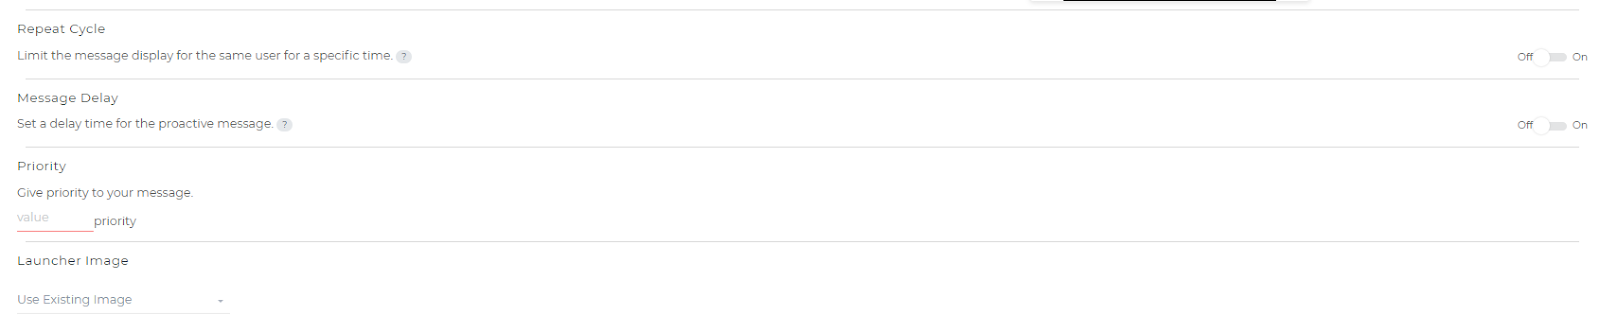
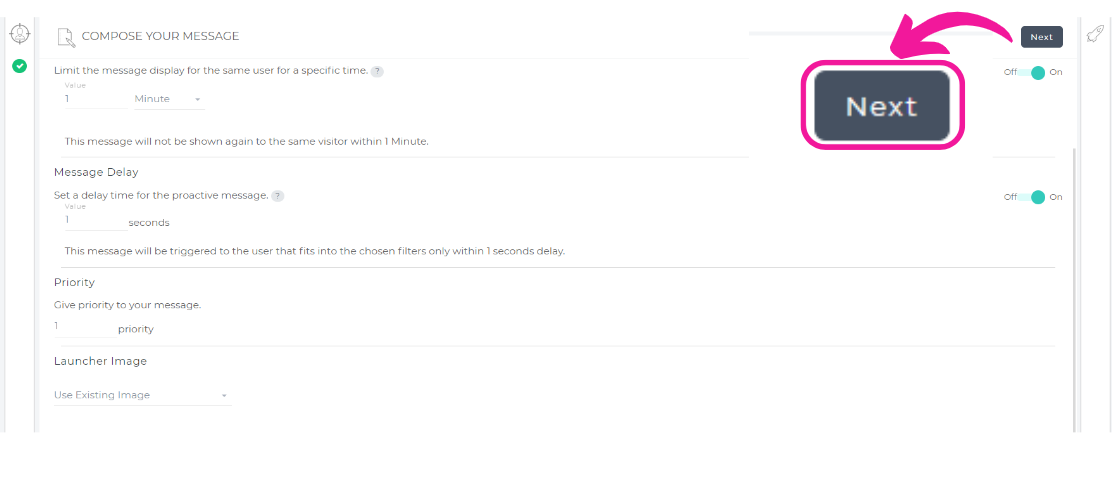
Here are the Repeat Cycle, Message Delay, Priority and Launcher Image.
Repeat Cycle; You can limit the message display for the same user for a certain period of time. You can do this in minutes, hours or days.
Message Delay; You can set the delay time of the proactive you have prepared.
In the priority section; You can set the priority order of proactives containing the same parameters.
Launcher Image; You can use your current picture or Jetbot profile picture.
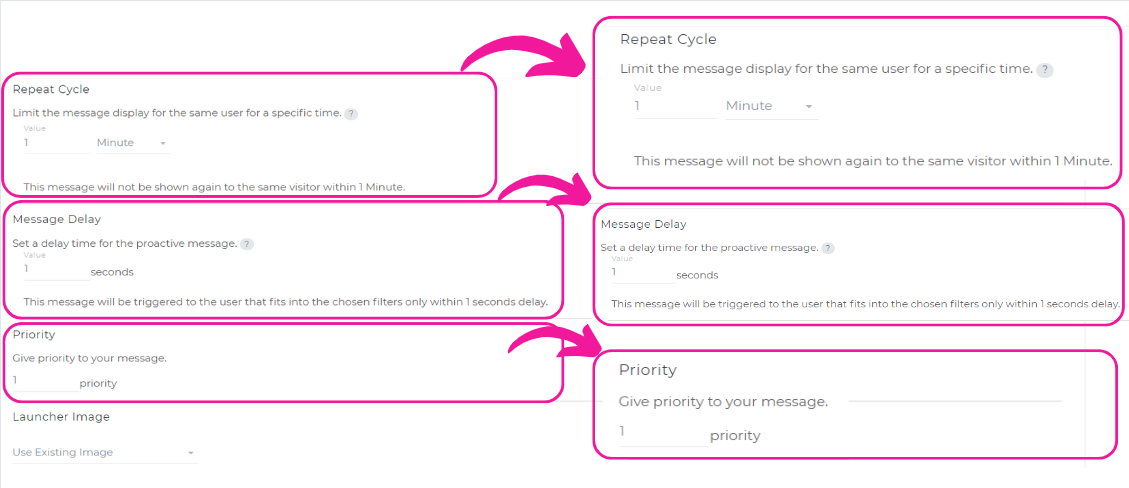
Let's make an example in this section together. 👇
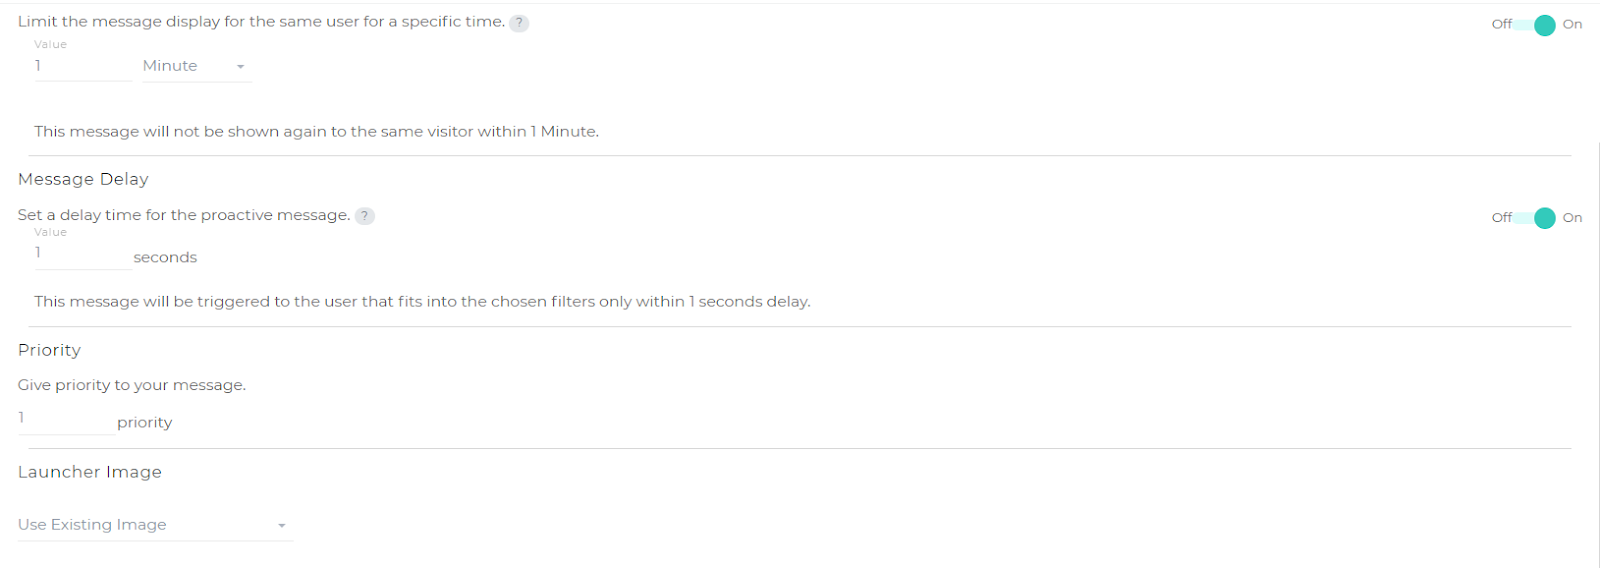
In the above example;
Repeat Cycle; It is set to 1 Minute. This means that this message will not be shown to the same visitor again in 1 minute.
Message Delay; It is set to 1 second. In other words, this message will appear to the user in only 1 second delay.
Priority; It is set to 1. In other words, if there is another proactive in the added page, the priority will be the currently created proactive.
Click the “Next” button on the right.
You can also see a preview of the proactive conversation on the right.

You can start the proactive conversation by clicking the “Launch!” button.
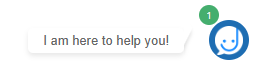
That's it! After completing all the steps, you can broadcast the proactive conversation. You can see the proactive conversation in the bot after it goes live below.
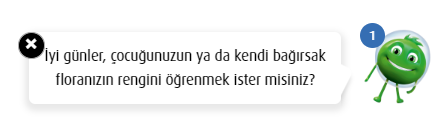
4.b Text Content
Text Content; Only Text ✅ is available. In the "Select Content" section, select "Text Content". You must first fill in the blanks in the image below.

Let's set an example together. 👇
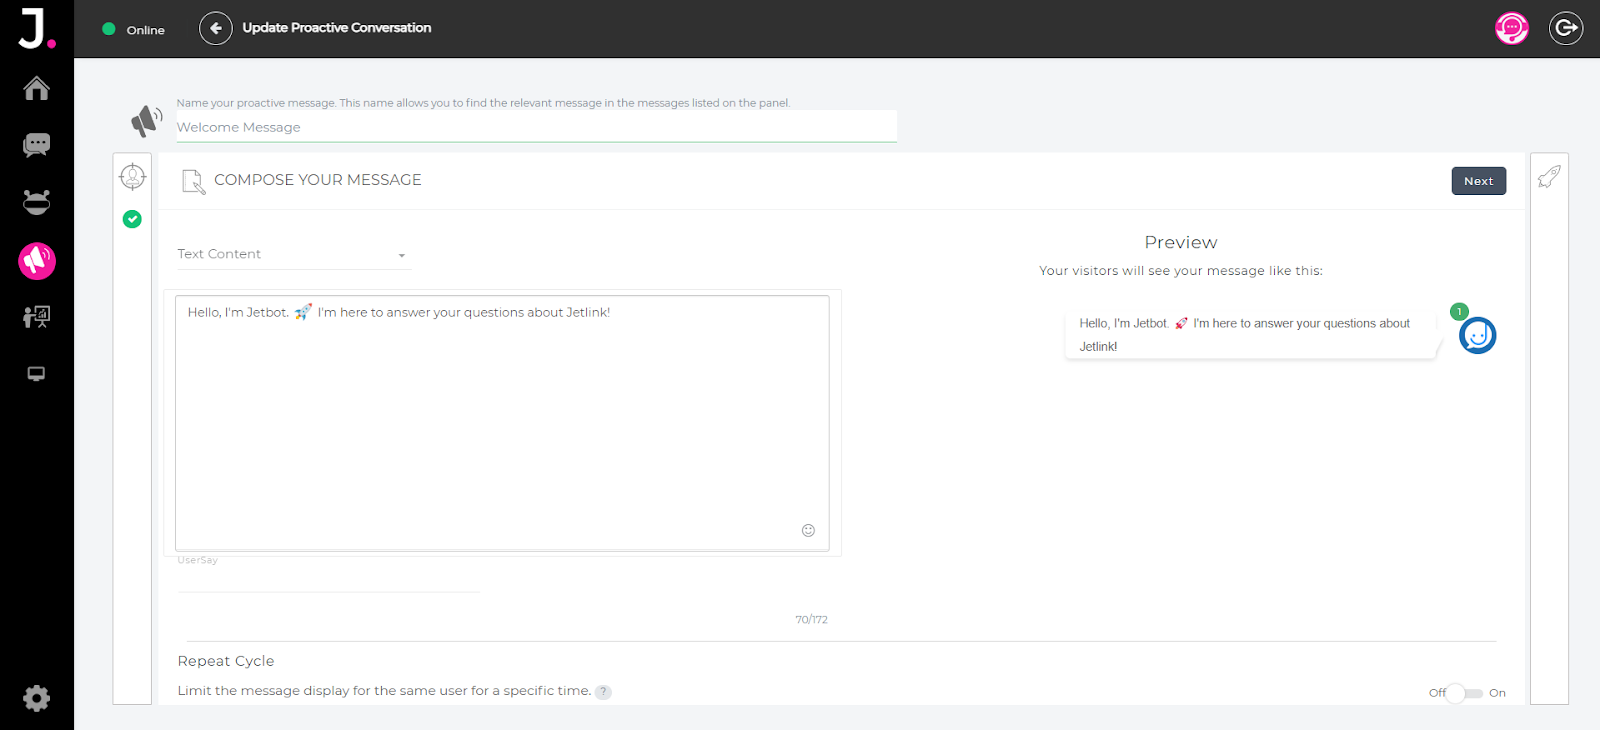
If we want to add on the page, we determine the repeat limit and priority order.
After filling in the relevant fields, you can see the preview of the proactive speech on the right.
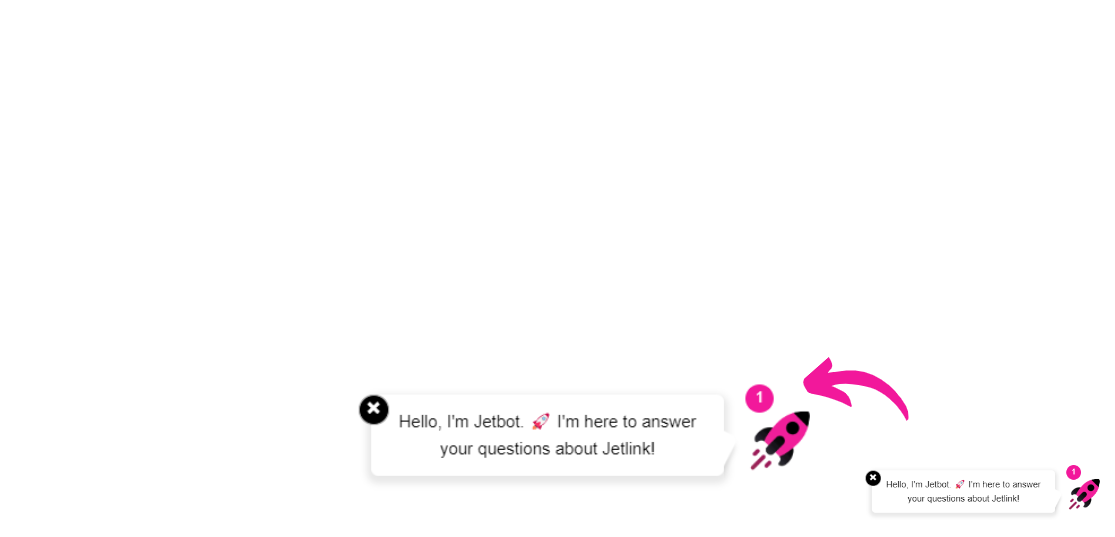
Then, by clicking the “Launch!” button, we broadcast the proactive speech.

You can see the proactive conversation in the bot after it goes live below.
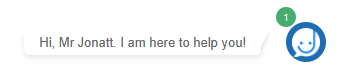
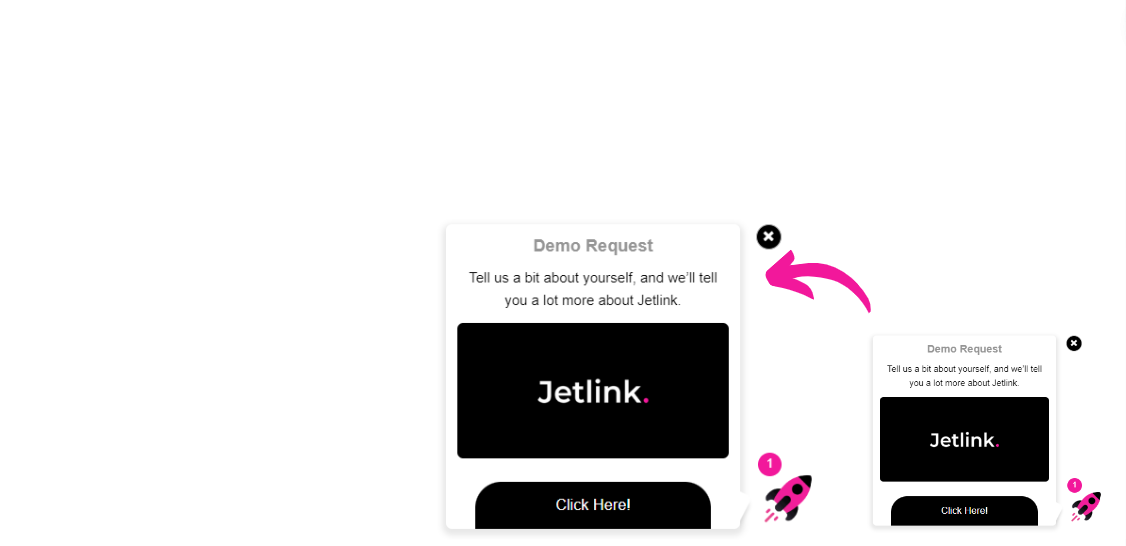
4.c Open Window
Thanks to this feature, we write the user expression of the content we want to trigger on the page we define. In the example below, “Demo” is one of the user expressions of the content we want to trigger. Even if the user does not open the bot and ask for anything, the content defined for the site is triggered and the response is visible to the user.
Let's set an example together. 👇
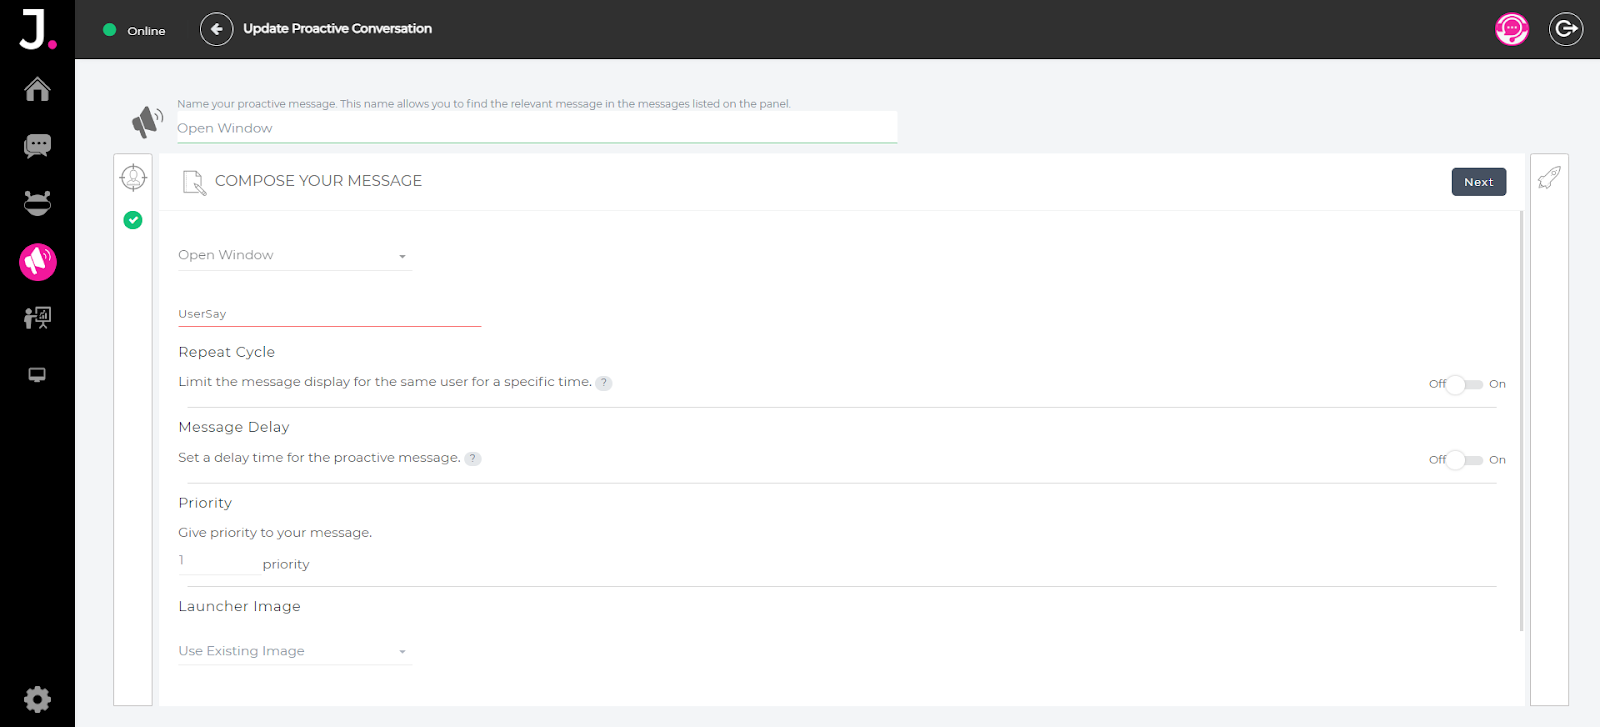
If we want to add on the page, we determine the repeat limit and priority order.
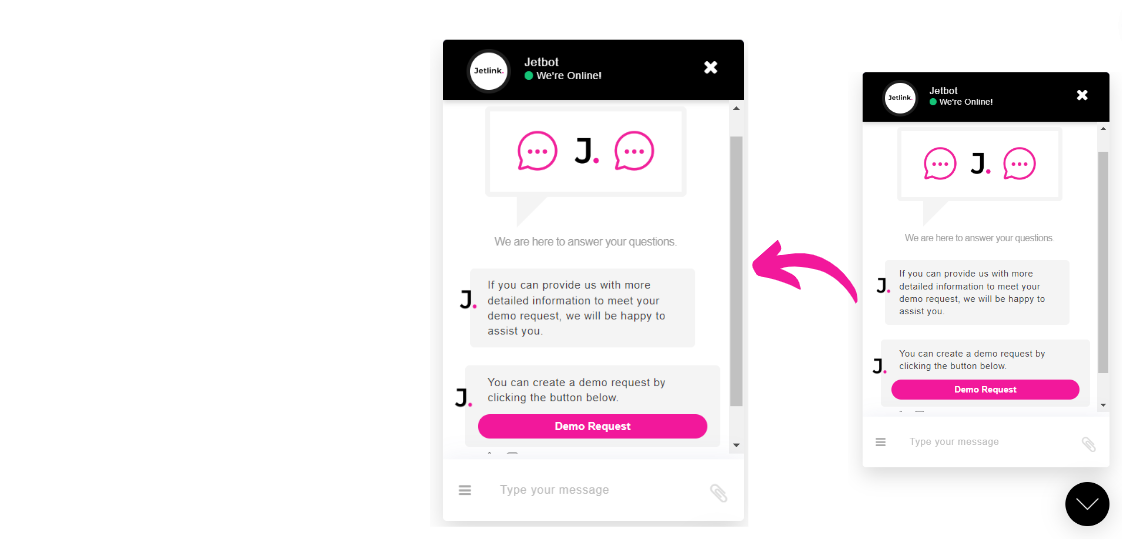
You can see the proactive conversation in the bot after it goes live below.
Thank you for reading!