The Jetlink web messenger can be completely customized to suit your website. You can see a preview of the changes inside Jetlink. Once you make the changes and hit save it will be reflected in your Jetlink web messenger immediately.
Here is how you can customize the Jetlink web messenger
Here is how you can customize the Jetlink web messenger
- Login to your Jetlink account as an admin
- Go to settings on the navigation bar
- Click on the Web messenger in the settings menu
Colour and height
- Make sure that you pick a colour that will stand out on your website.
- Choose a colour from the palette
- Enter the messenger height
- Choose whether you would like remove messenger default header or keep it.
- Enter your title
- Enter a messenger info text that welcomes your users/visitors
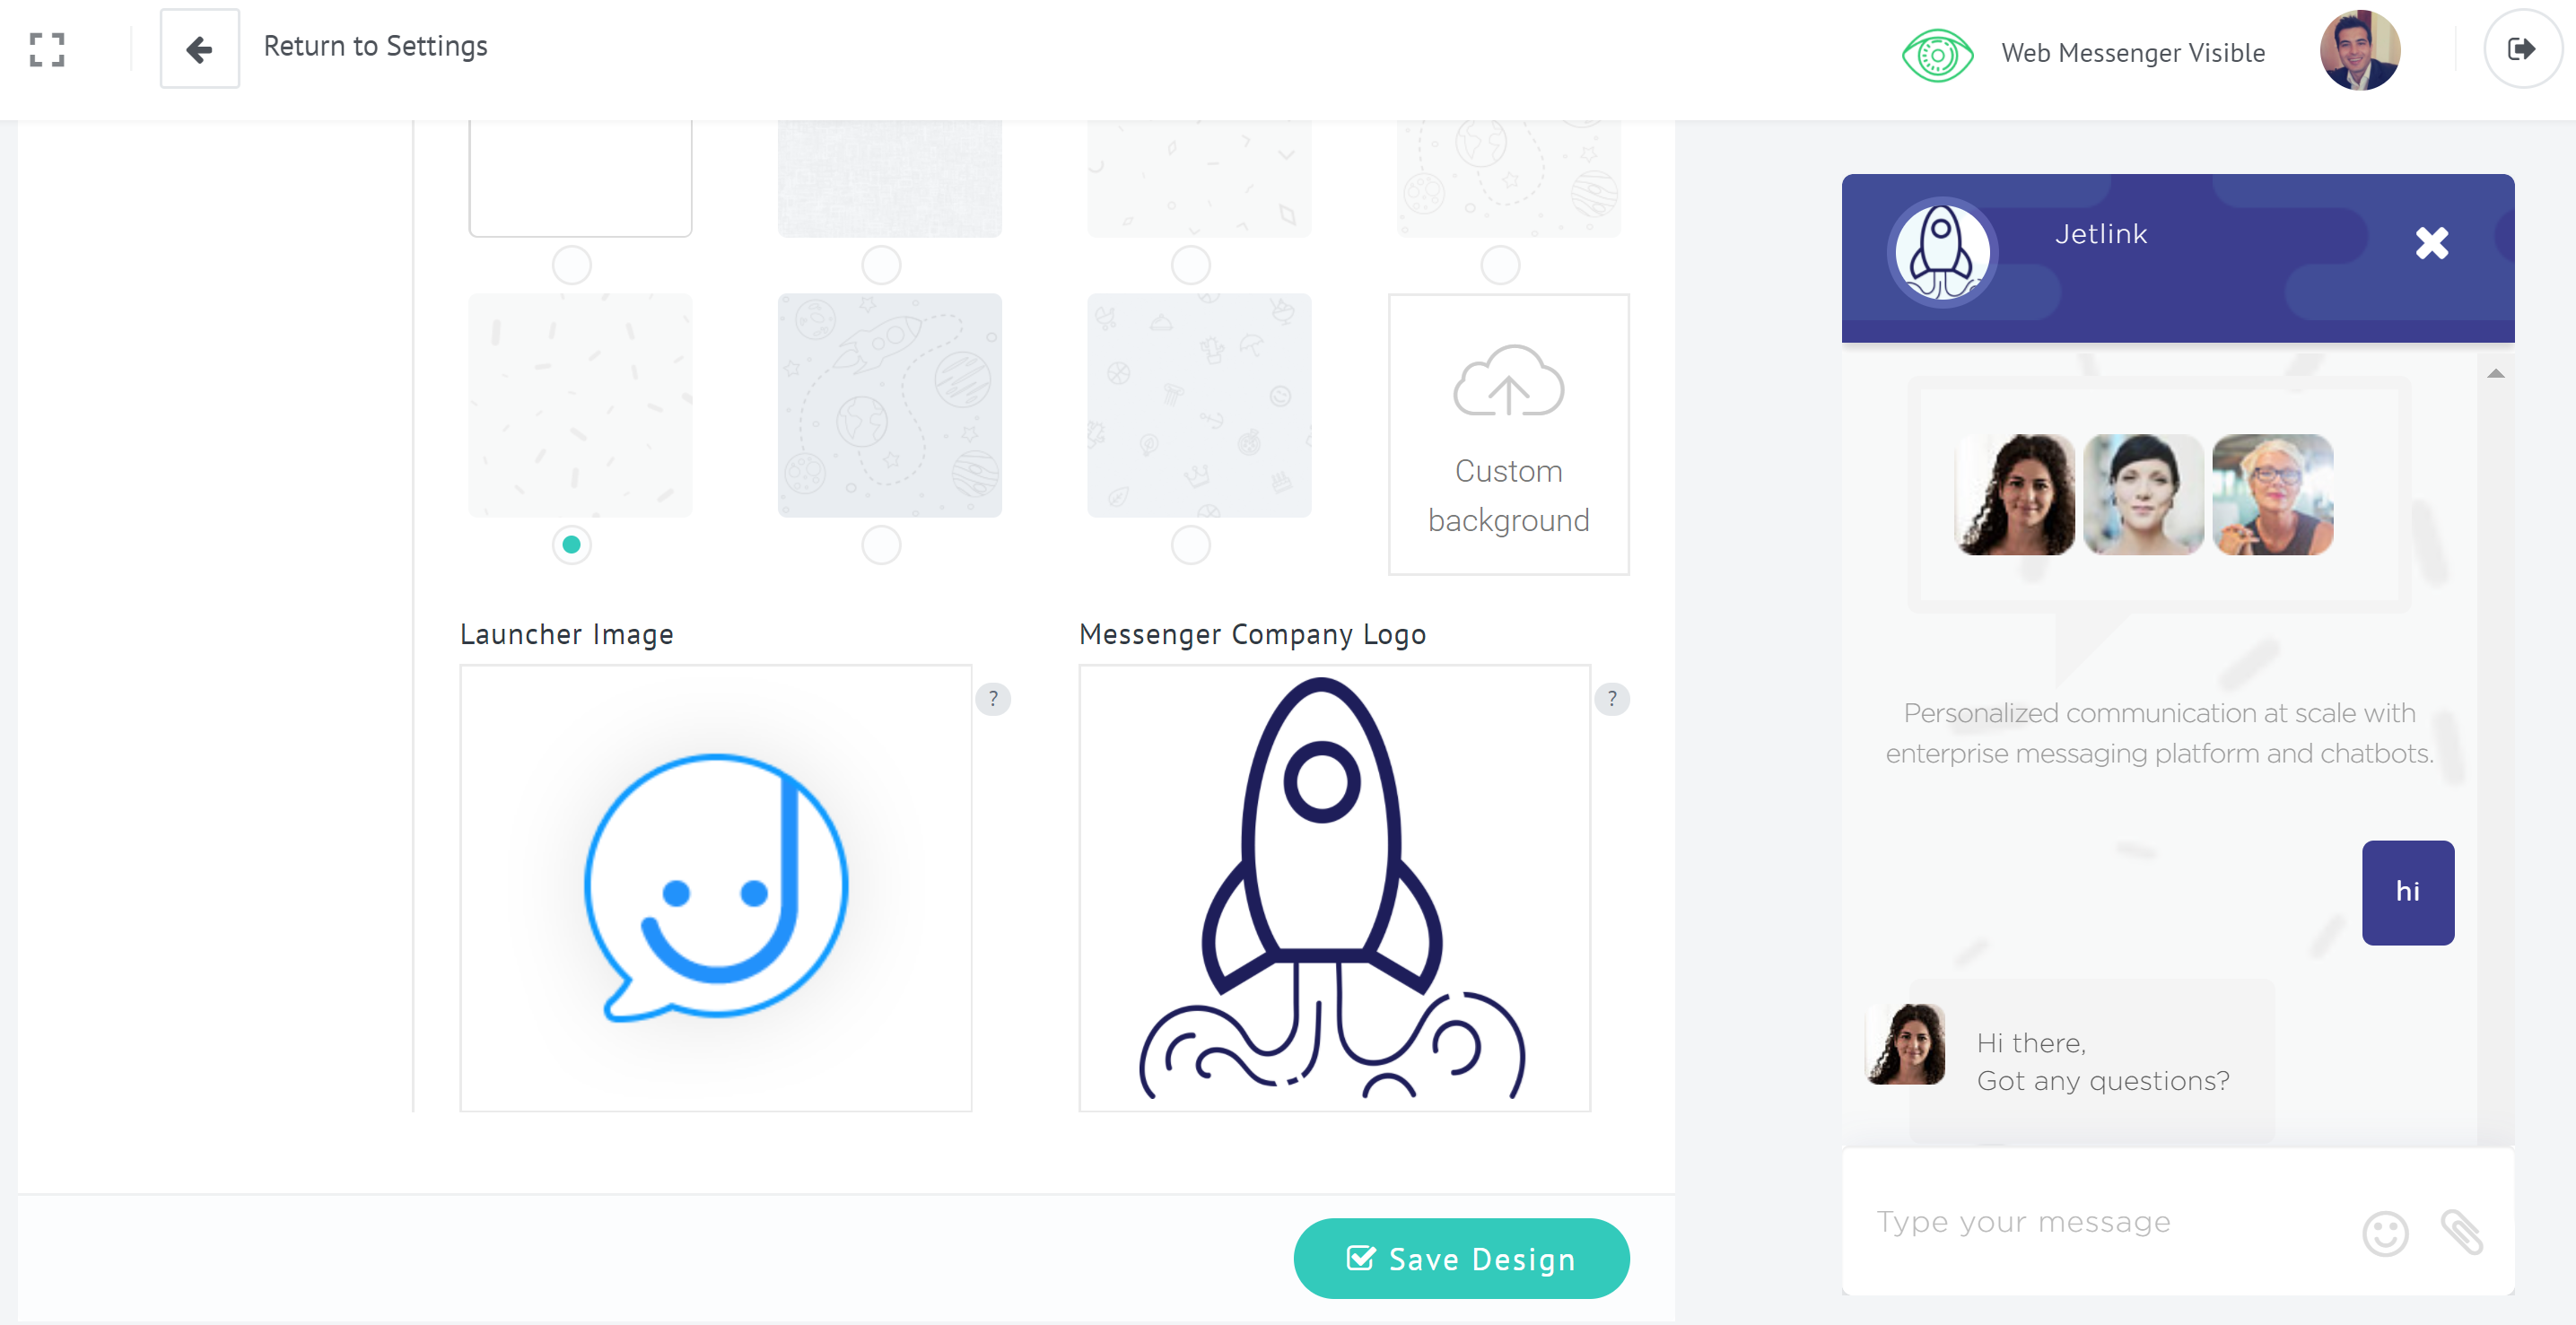
- Choose a messenger background from options or upload yours to have a unique view.

- Upload your custom launcher image or use existing one. Launcher image appears on the right bottom side of your web site and users/visitors should click on it to open messenger.
- Upload your company logo, it appears on the left upper side of your web messenger in a circle as shown below. In order to show your full logo in the circle, make sure to choose a square picture.
- Click on "Save design" to change the apperance of web messenger, the changes will be shown immediately on preview.